Configure Bike Settings in App
Enter your bike specifications for accurate analysis
Bike Profile
Go to Dashboard > Equipment. Enter your bike's model, suspensions models and travel, pressure. This is crucial for Trailmetry calculations.
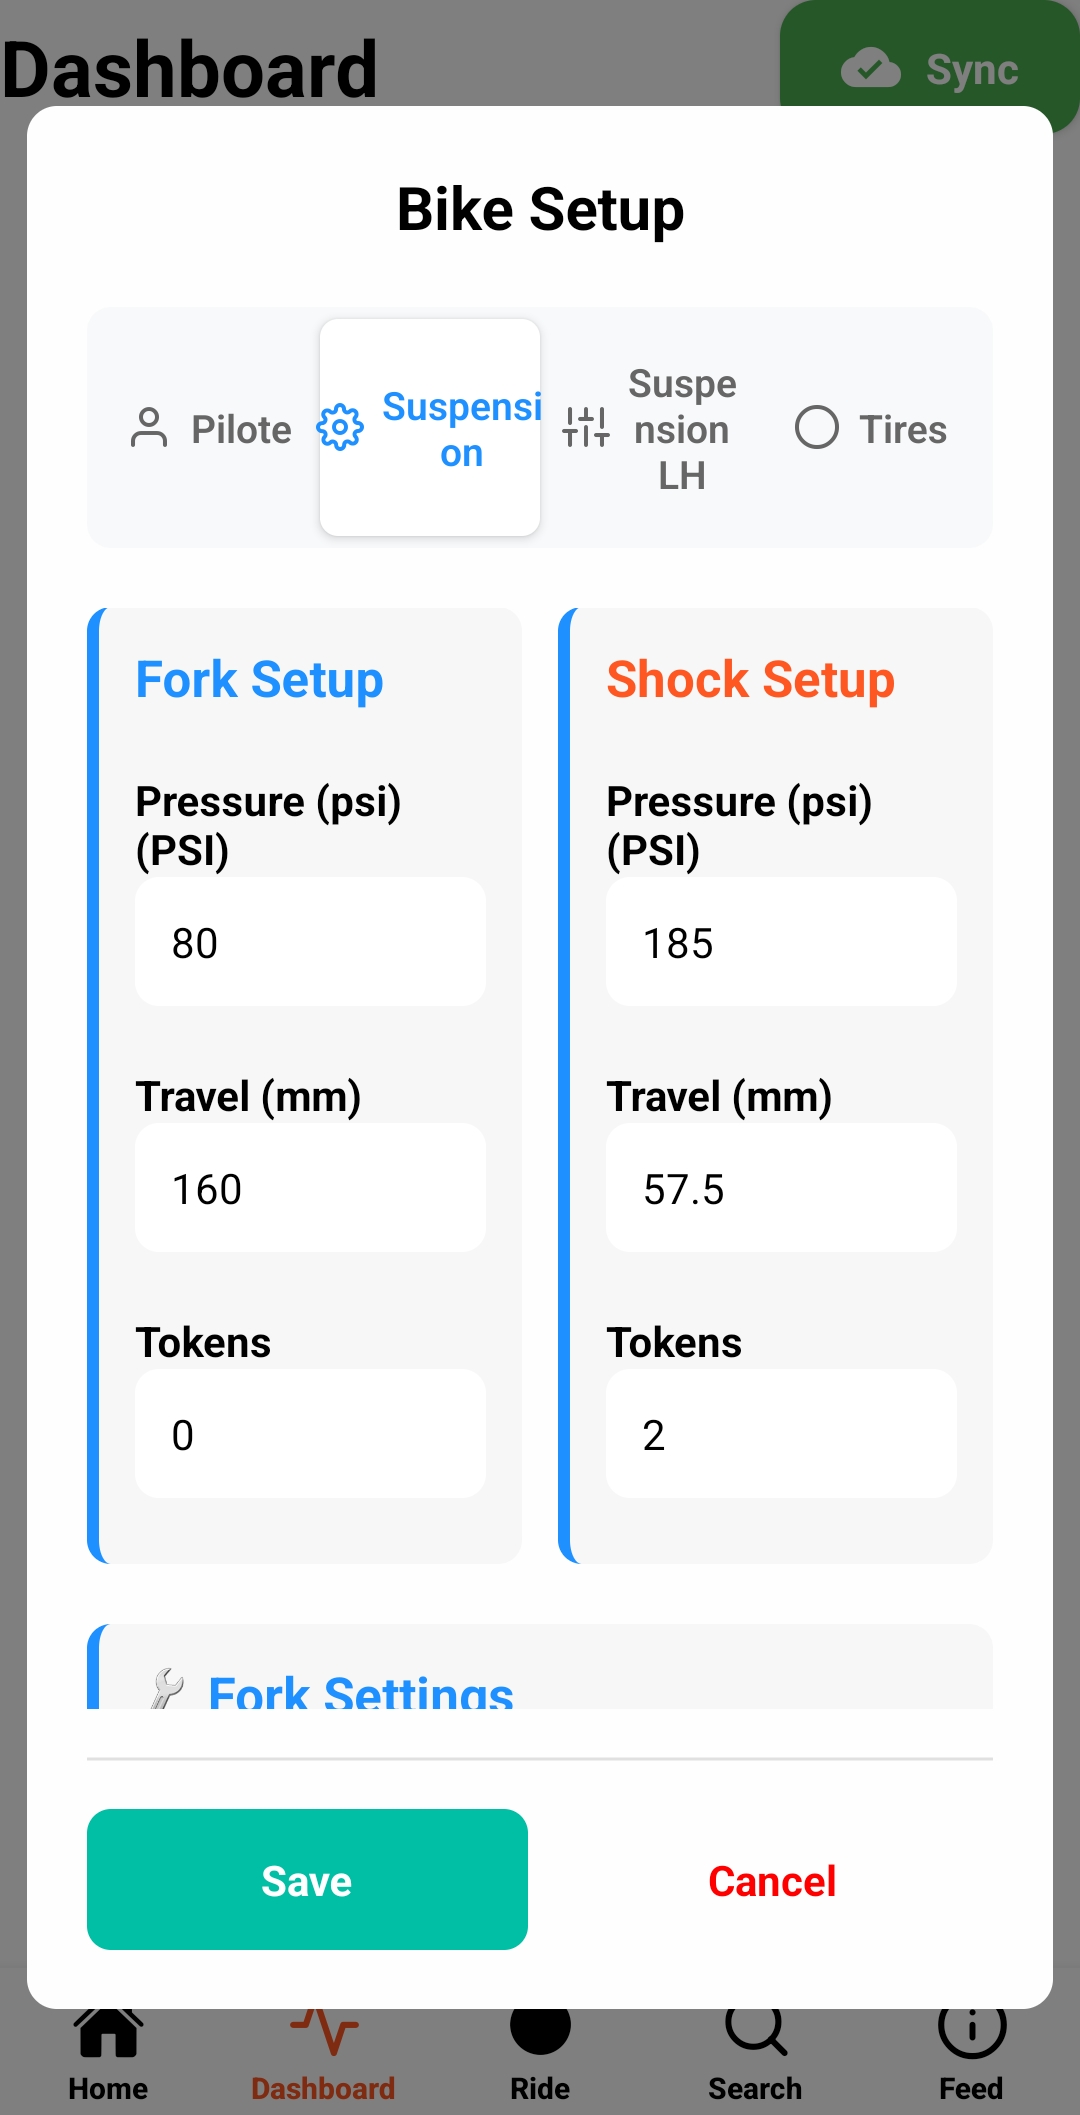
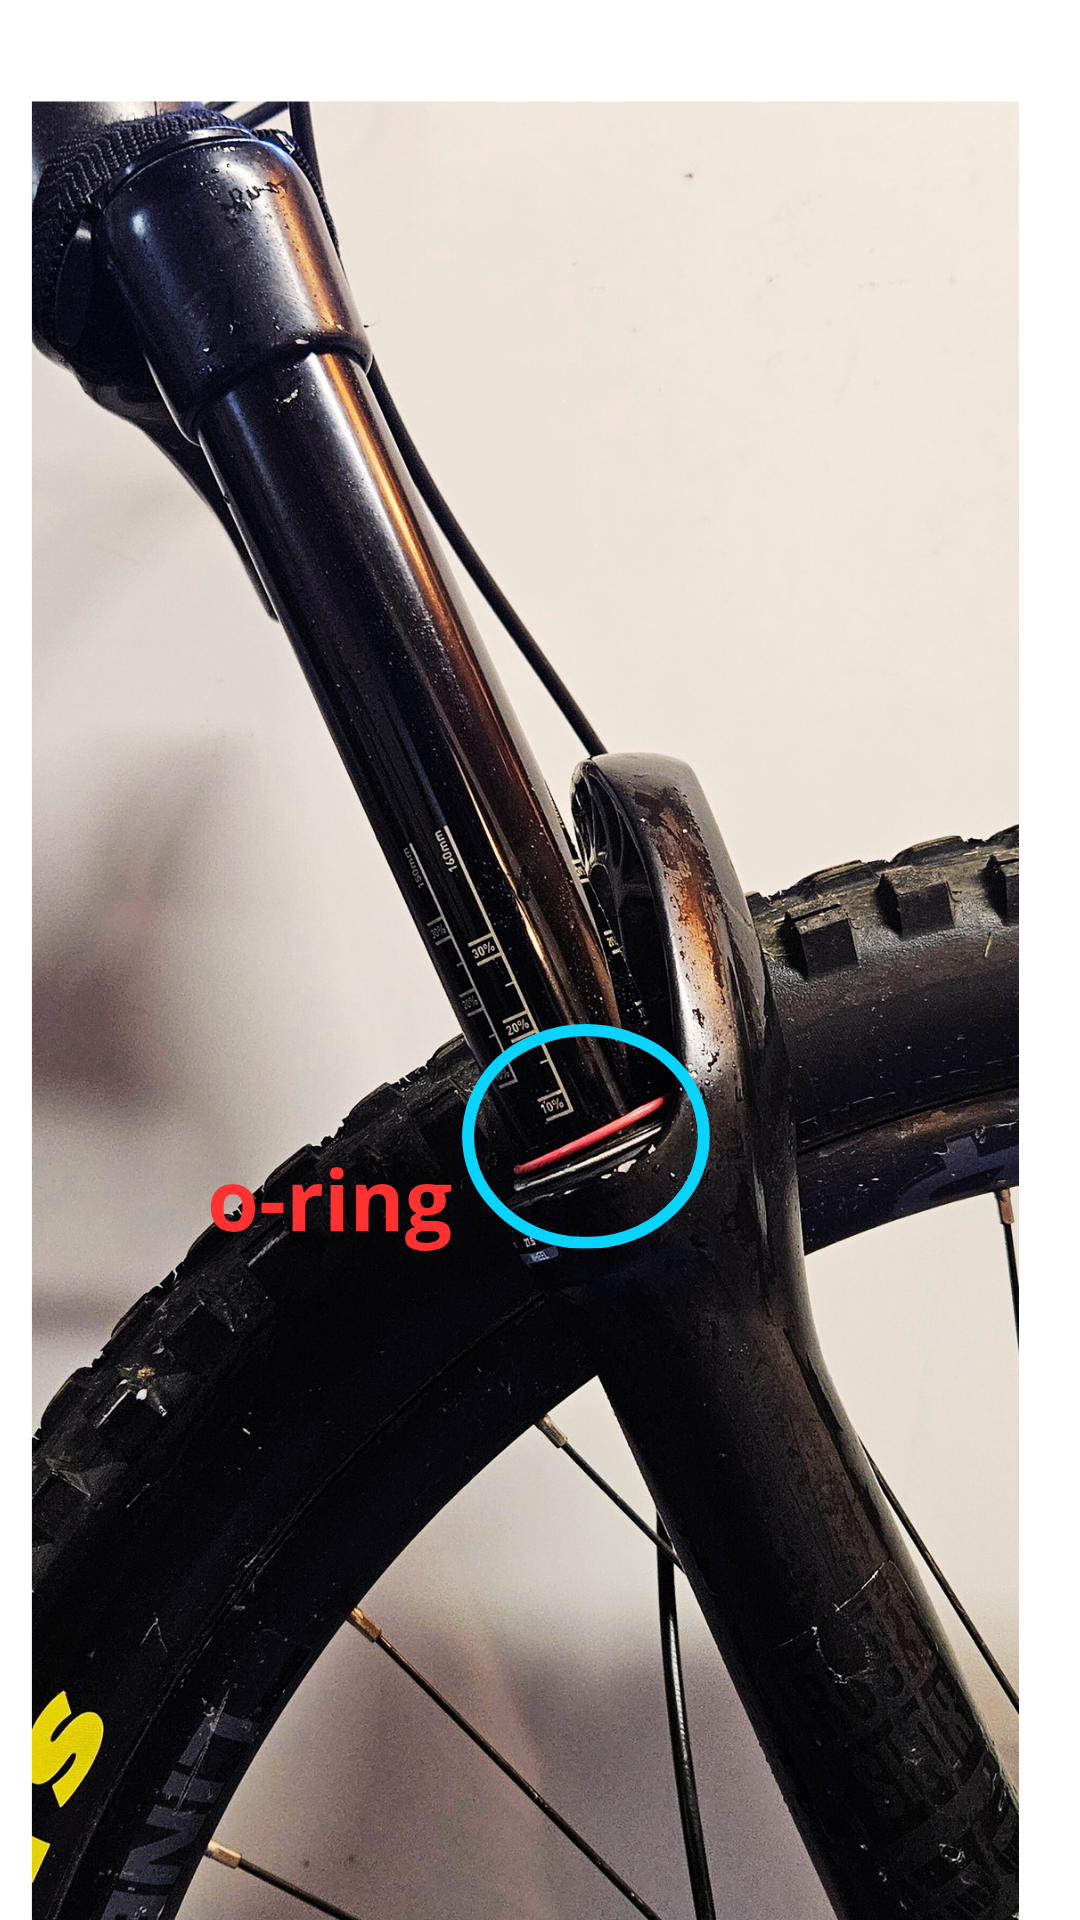
Suspension Specifications
Input your fork and shock travel, spring type (air/coil), and current pressure/spring rate settings. Include any volume spacers or tokens installed.
Damper Settings
Record your current rebound and compression damping settings (number of clicks from full open/closed). Update these whenever you adjust your suspension.
Rider Weight
Enter your weight with full riding gear (helmet, pack, water). This is crucial for accurate sag calculations and setup recommendations.
Sensor Placement
Position your sensors correctly for accurate data collection
Front Fork Sensor
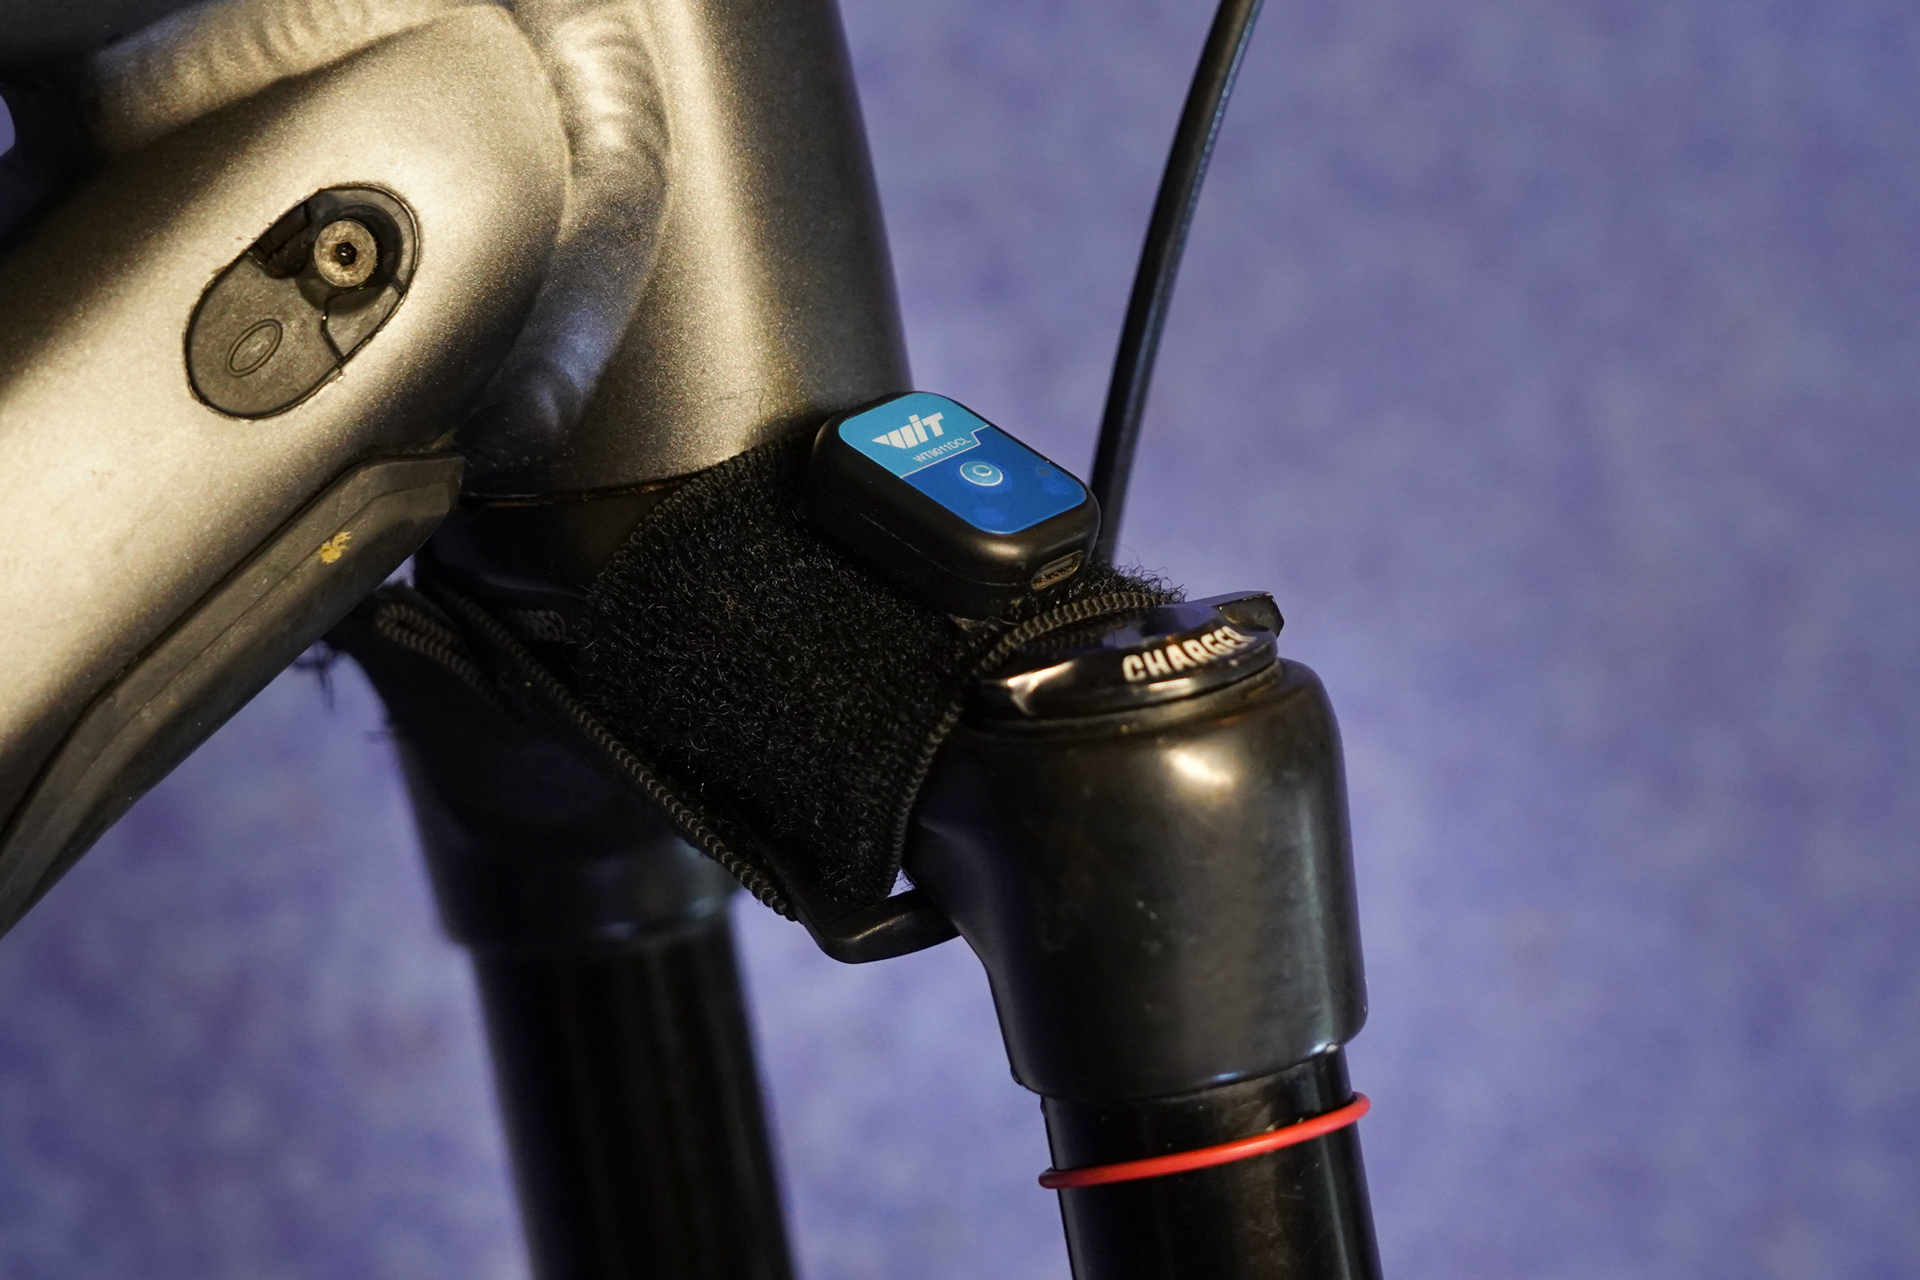
Mount the sensor on the left or right fork crown.
Best Practices
- Ensure sensor is flat
- Secure with velcro straps or zip
- Avoid cable routing areas
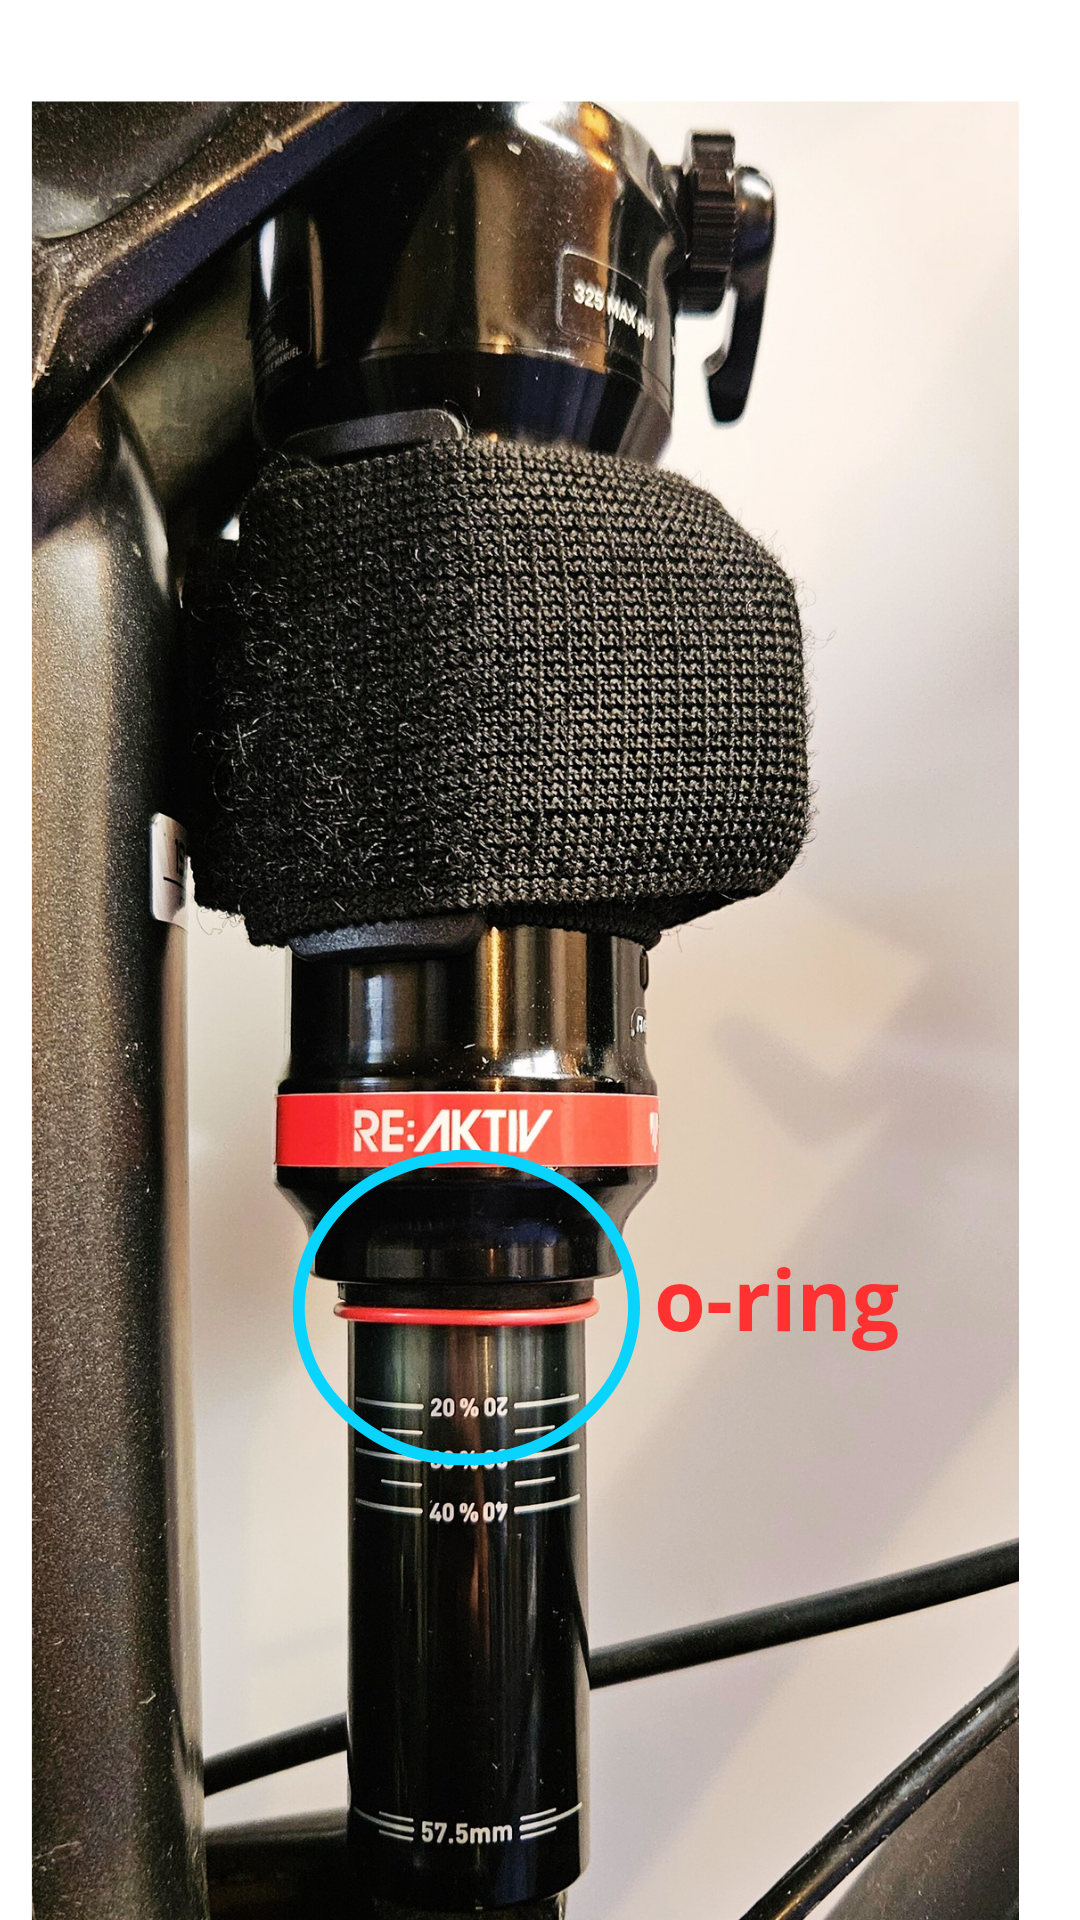
Rear Shock Sensor
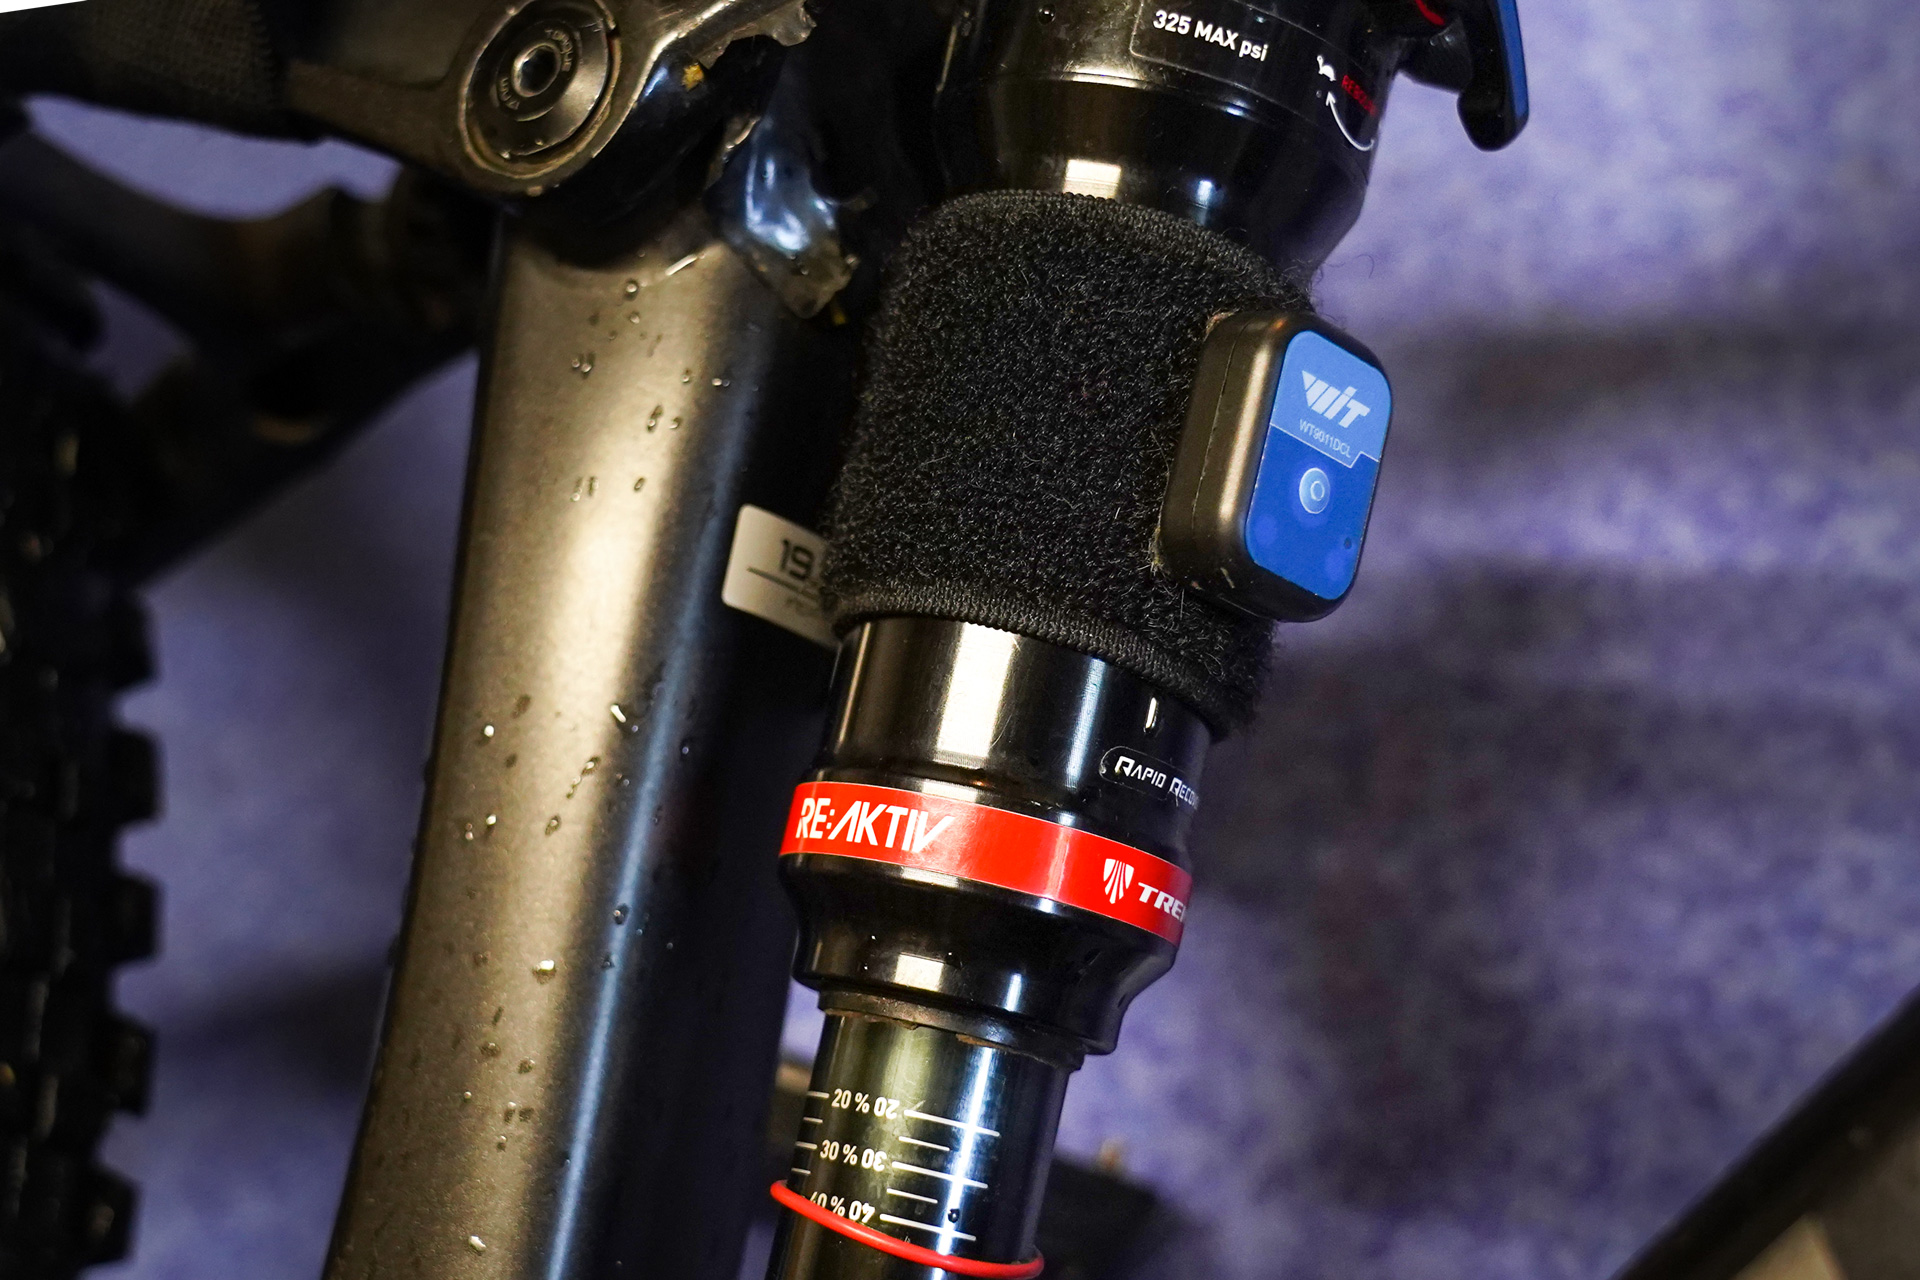
Attach the sensor to the shock body (the main cylinder), aligned with the shock's axis of movement.
Best Practices
- Mount on the upper shock body
- Keep sensor parallel to shock shaft
- Avoid areas near the shock reservoir
- Ensure sensor doesn't interfere with linkage
- Test full suspension travel before riding
Sensor Connection & Calibration
Connect and calibrate sensors for accurate measurements
Open the Trailmetry App
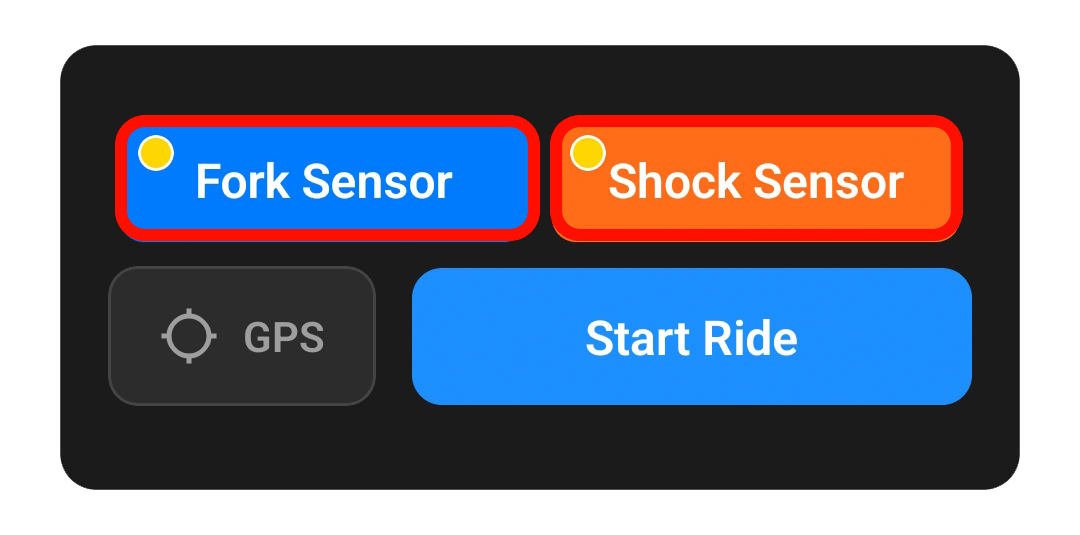
Launch the app and navigate to the Ride screen. Make sure Bluetooth is enabled on your device.
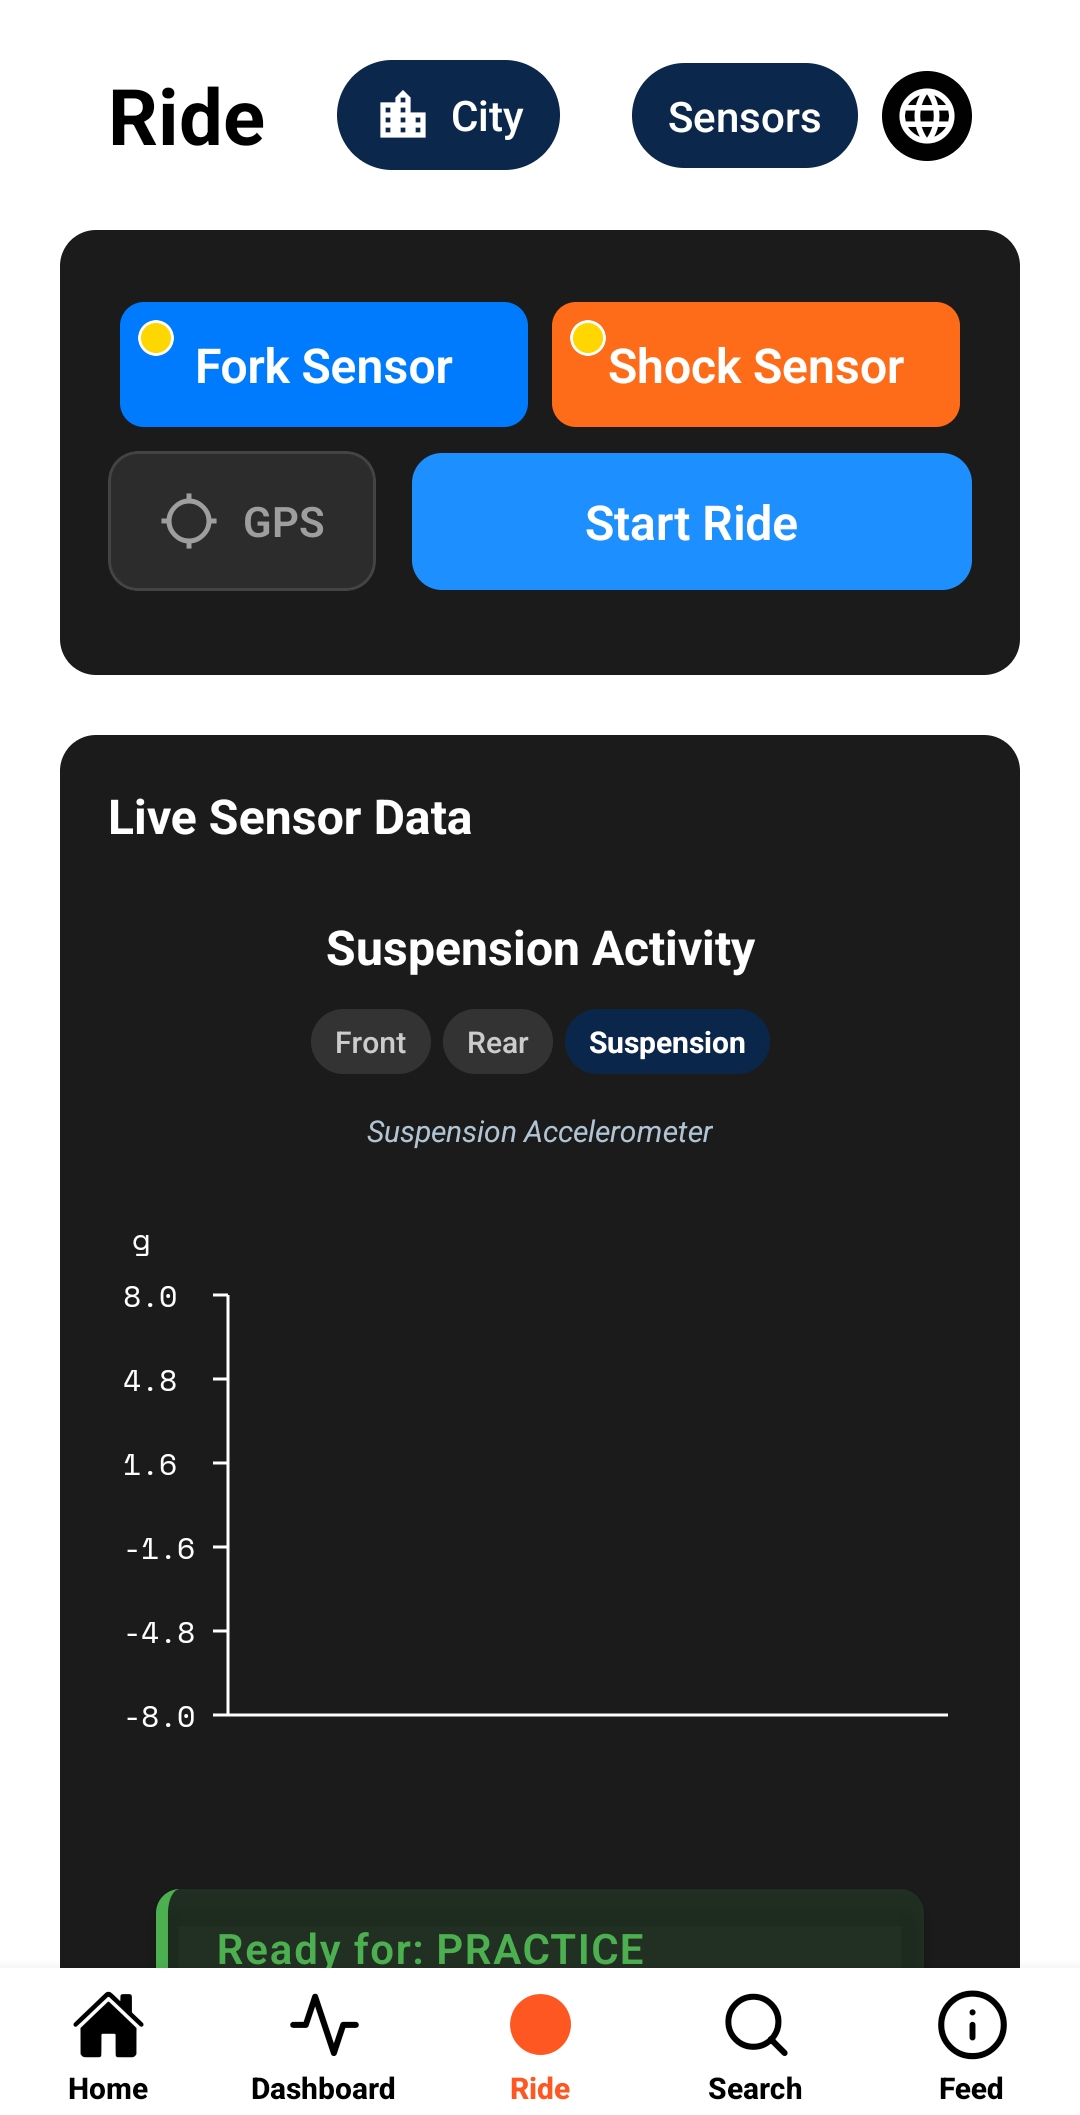
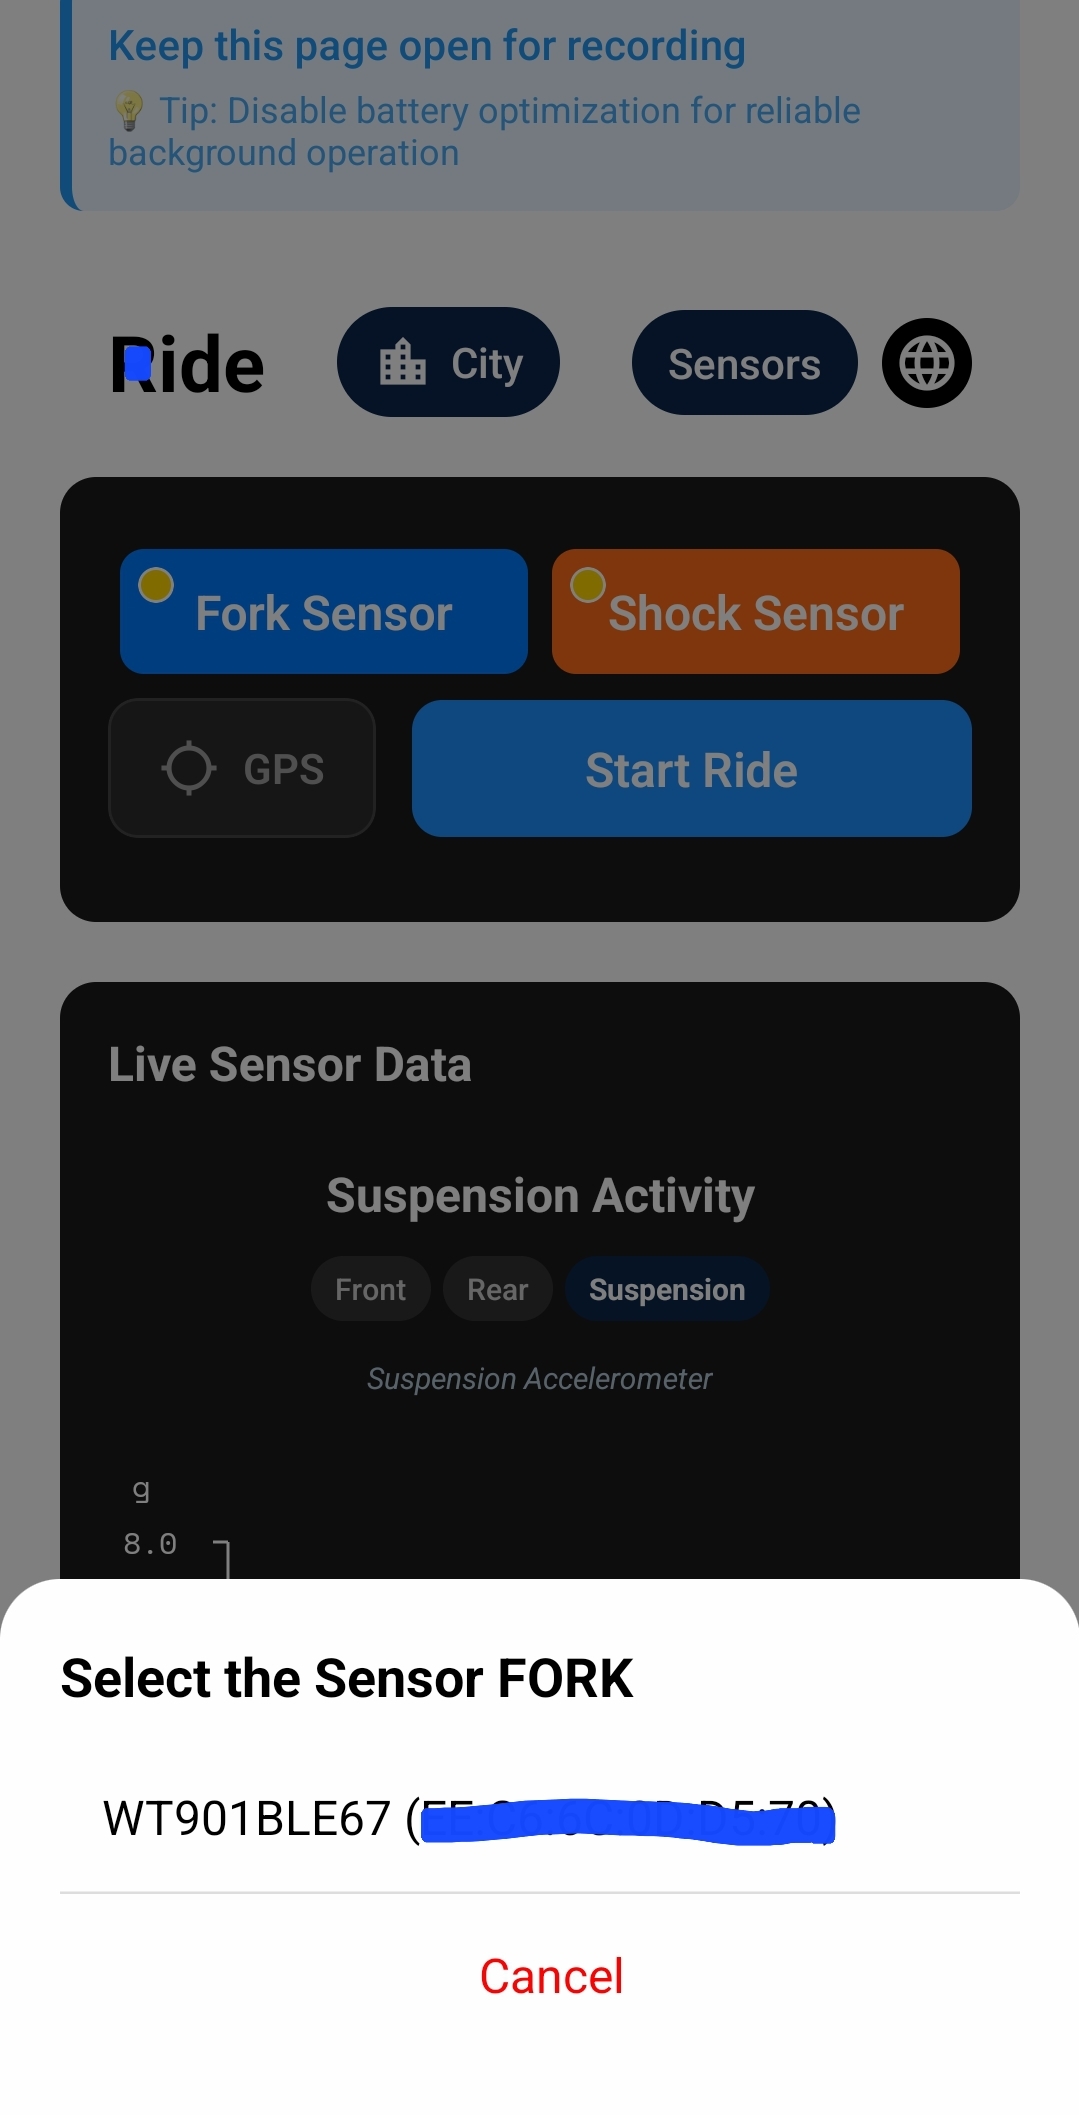
Connect Your Sensors
Tap the fork and shock buttons individually to scan for nearby Witmotion sensors. Select your front fork sensor and rear shock sensor to pair them with the app.
Now Let's Calibrate
With sensors connected, you'll calibrate them to establish your zero reference point
Start Your First Ride
Begin collecting suspension data on the trail
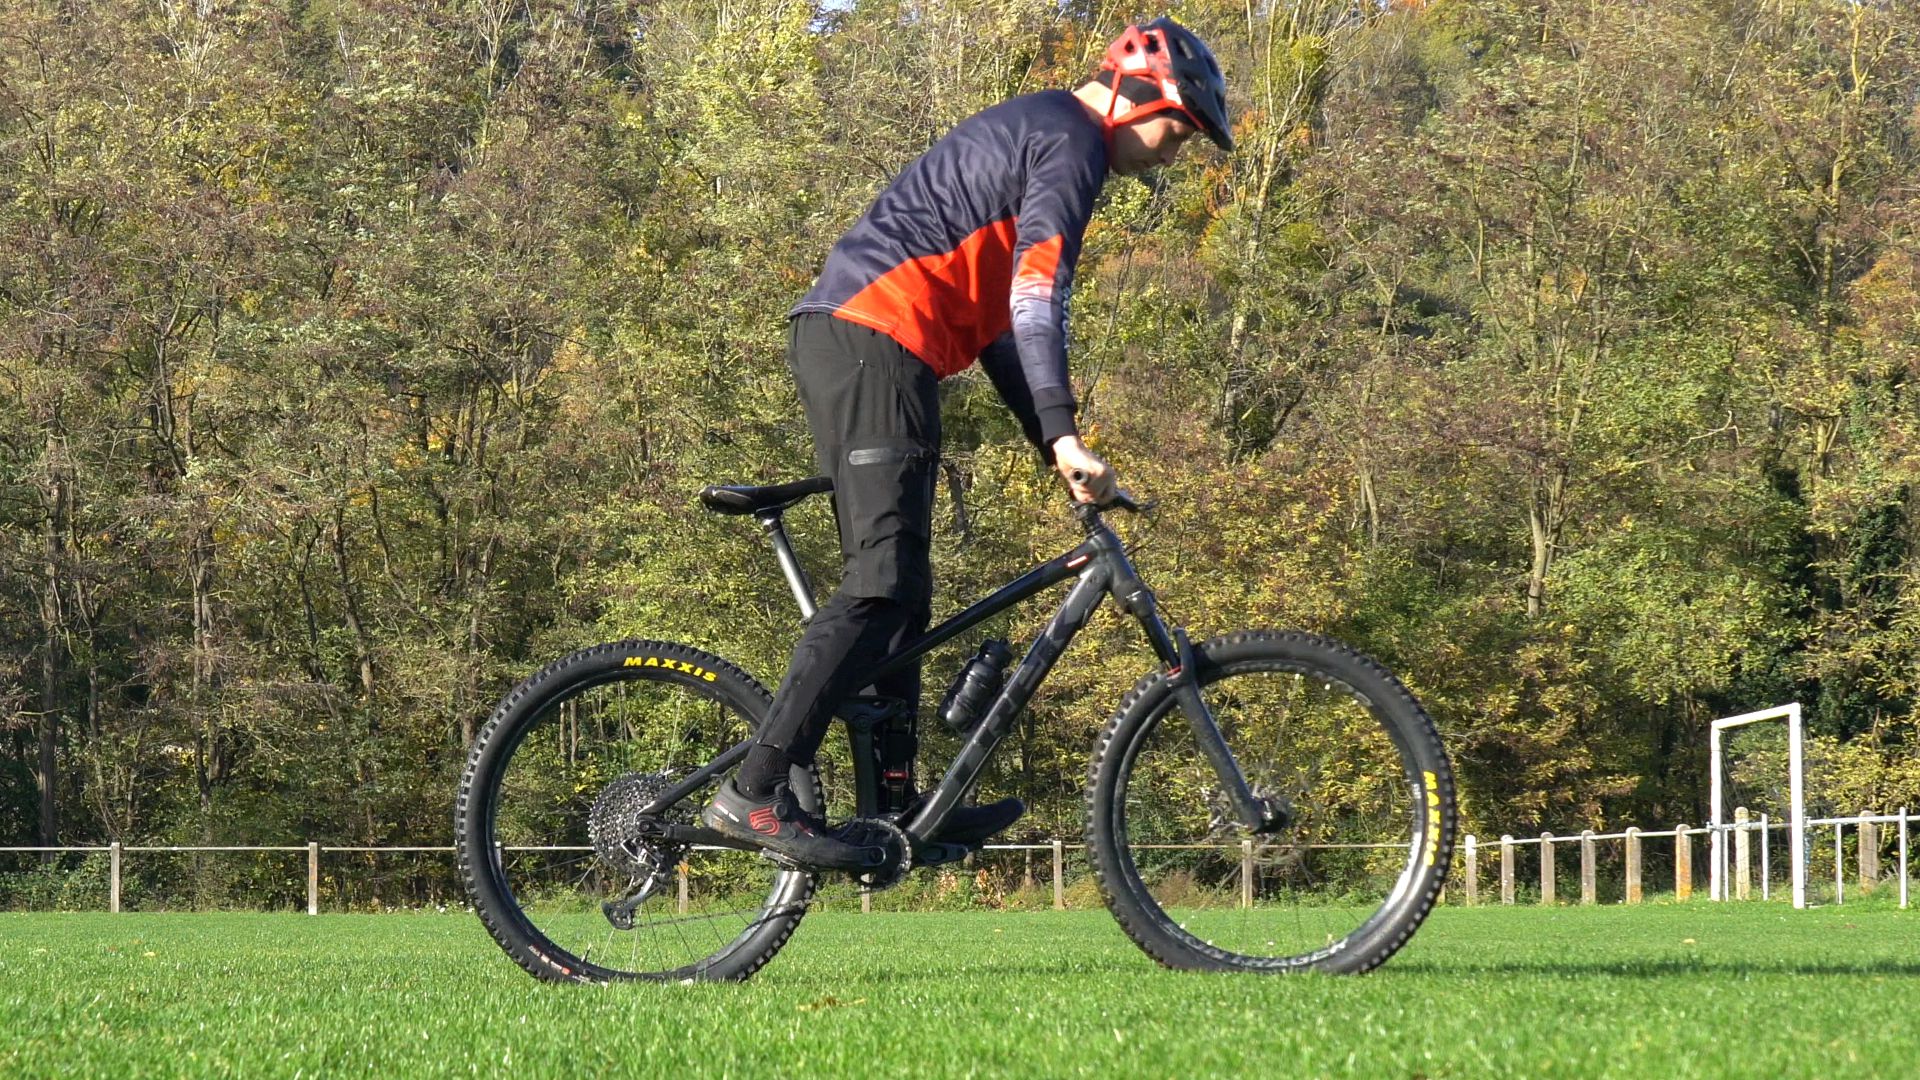
Set Bike to Static Sag Position
With your normal riding gear on, sit on the bike in your typical riding position. Keep the bike stationary and stay seated without leaning on walls or moving. This establishes your sag baseline - the natural resting position of your suspension under your weight.
Pre-Ride Check
Verify sensors are securely mounted, batteries are charged (check LED indicators), and Bluetooth connection is active in the app.
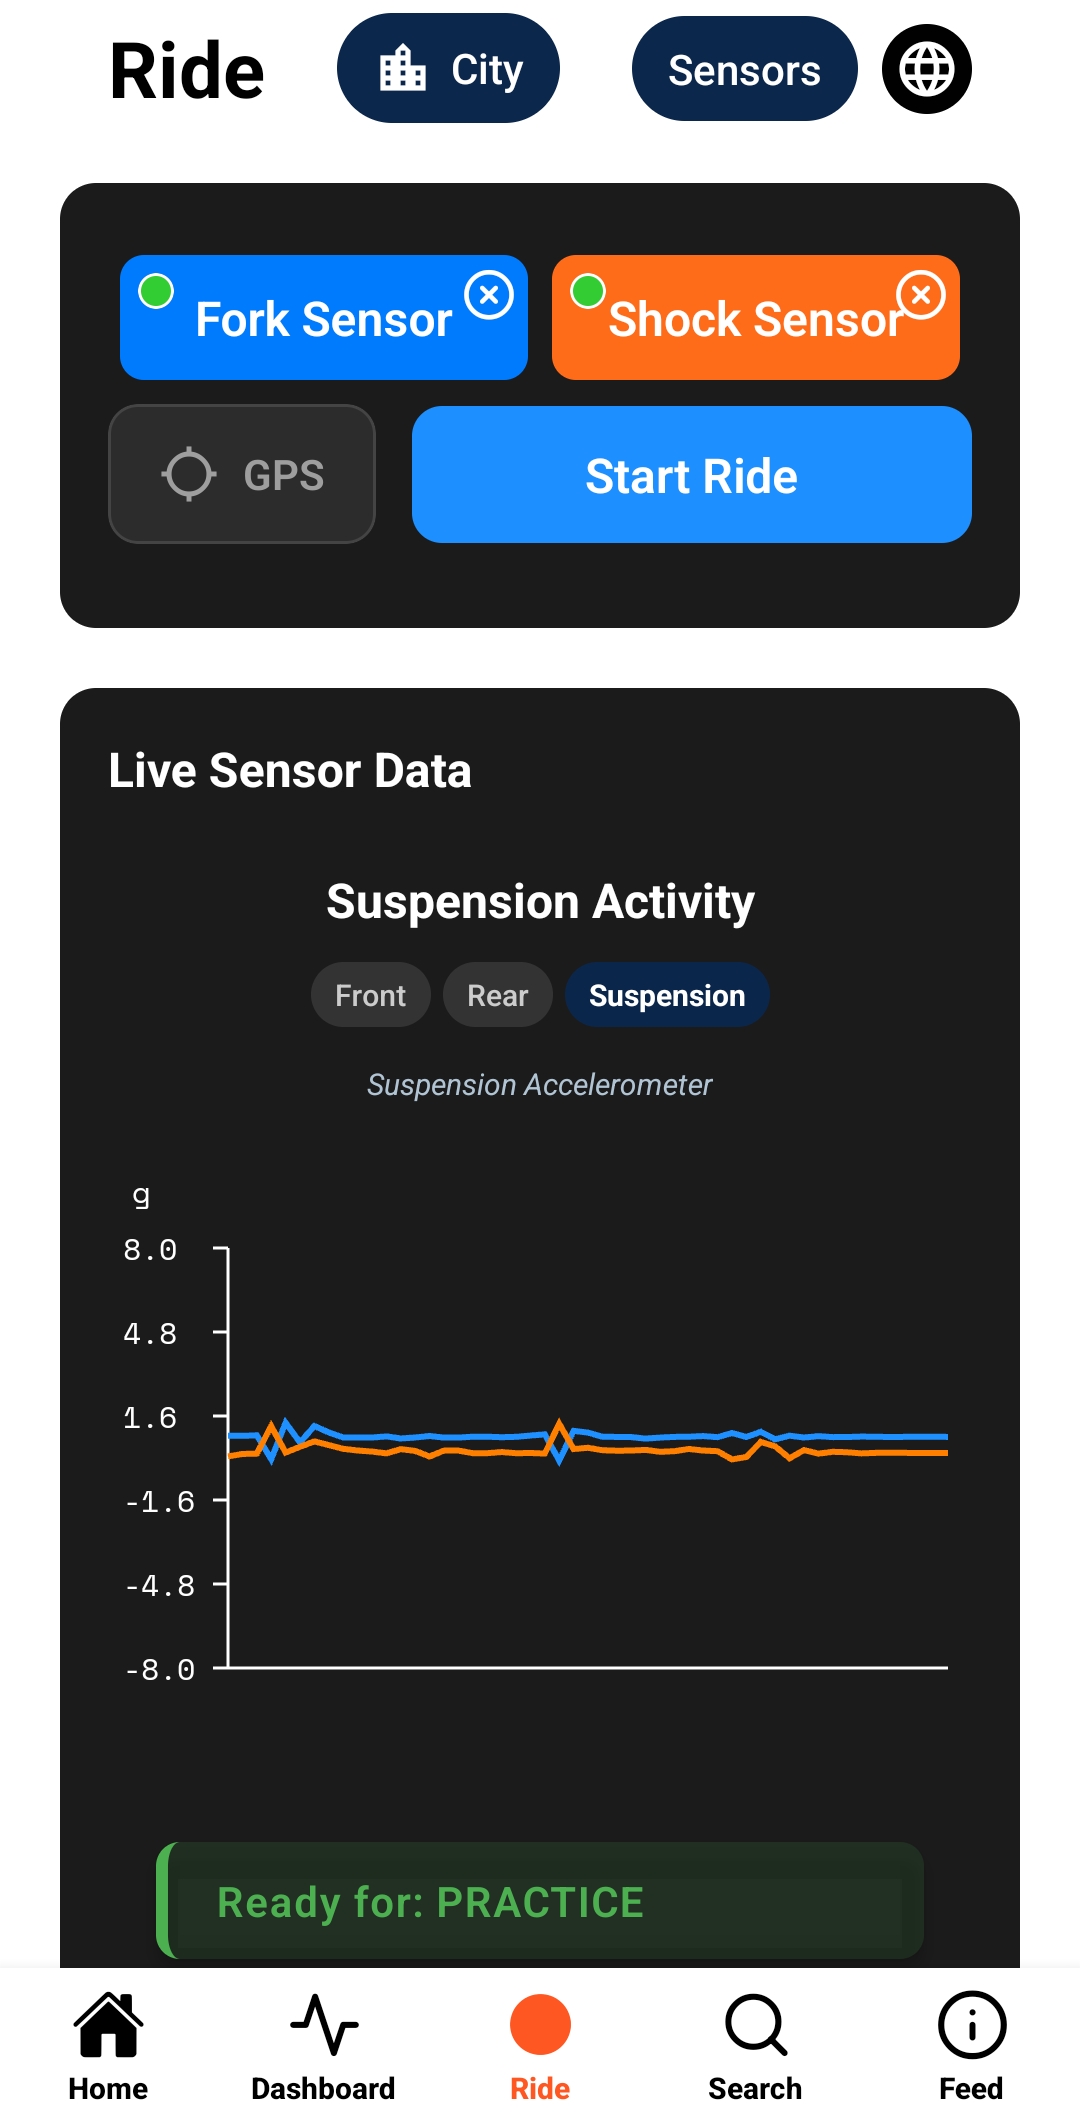
Start Recording
Open the app and tap "Start Ride". The app will begin recording, sensor data, GPS (optional).
Ride Normally
Ride your usual trails and terrain. The app collects data - just focus on riding and having fun!
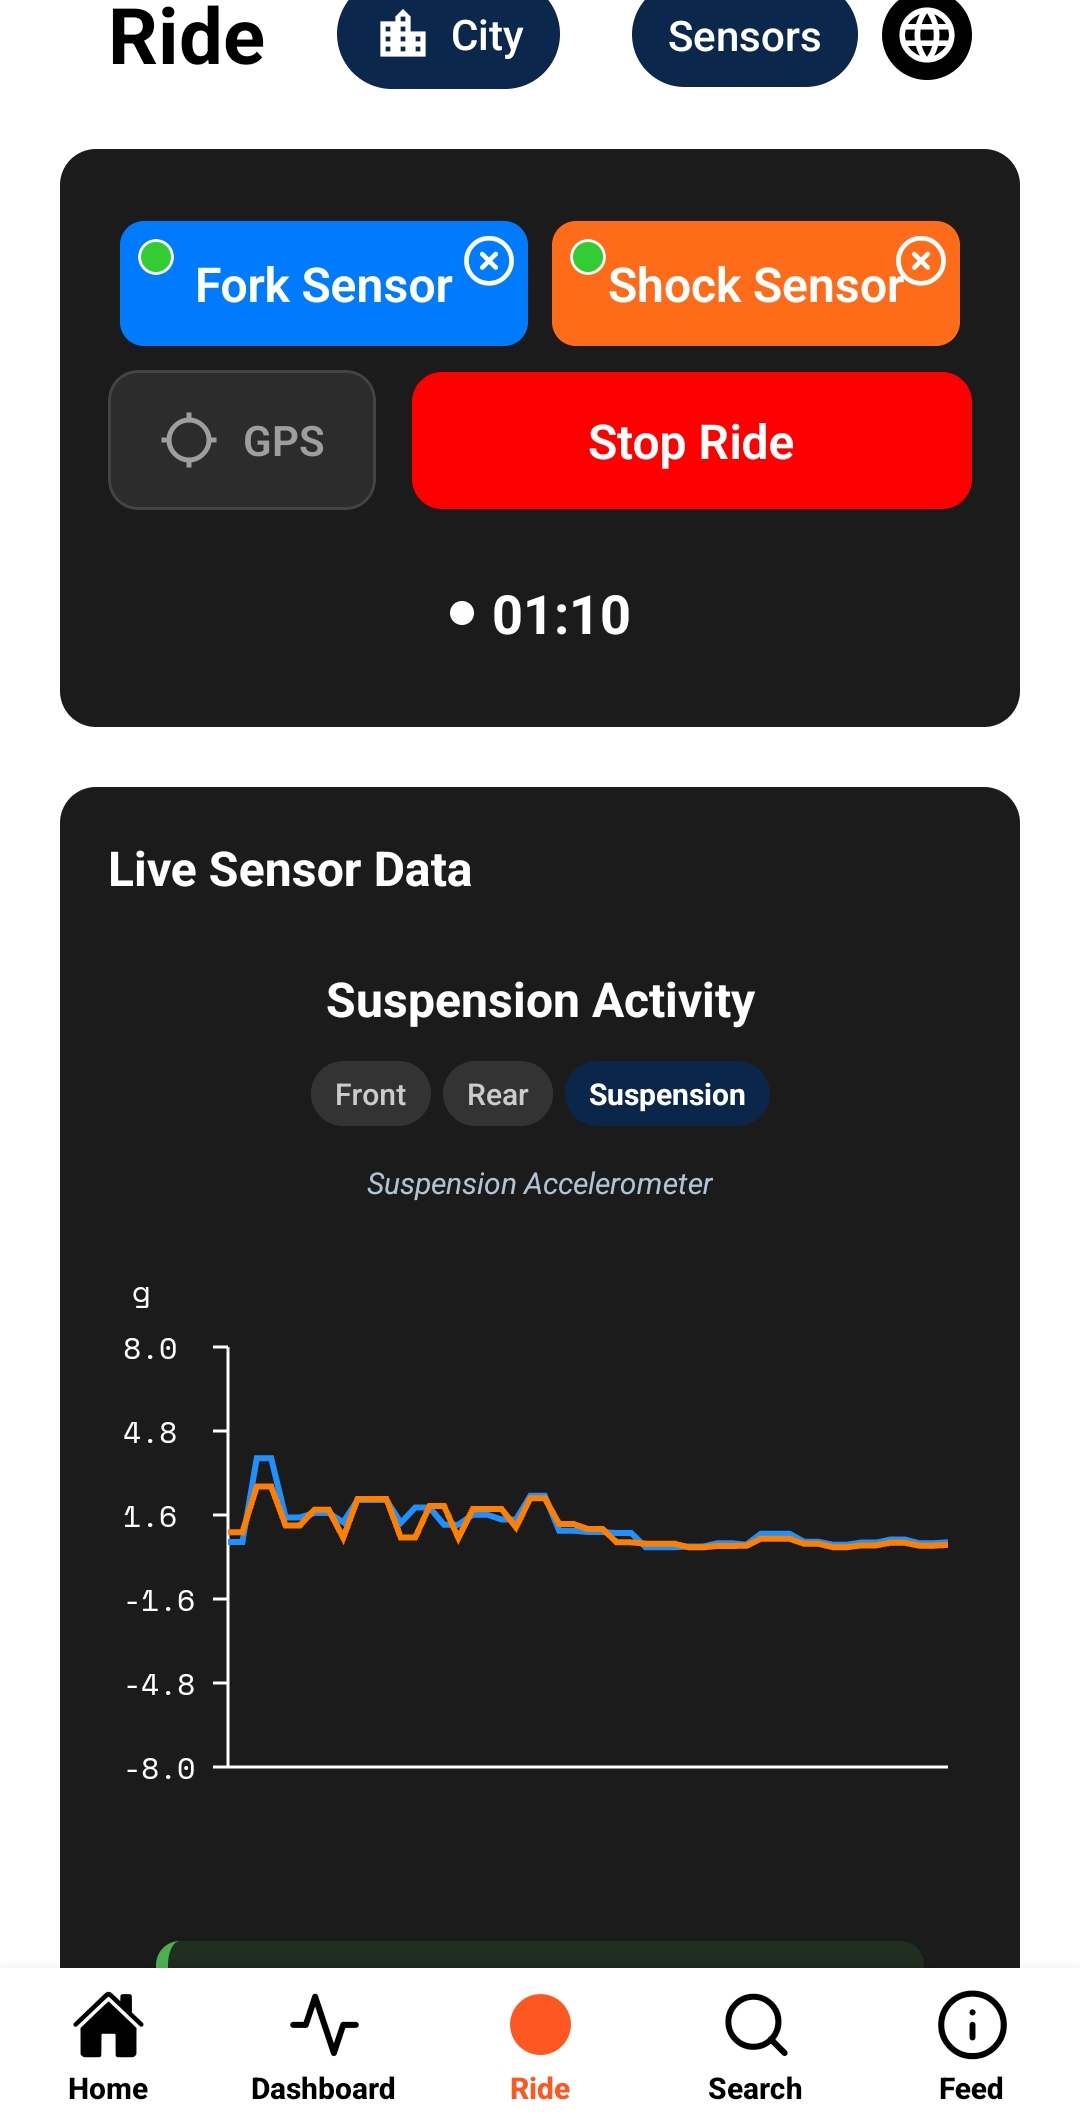
End Session
After your ride, tap "Stop Recording". The app will save your session, acceed your dashboard session for analysis.
You're All Set!
Your Trailmetry system is configured and ready to collect data. Start riding and let the app help you optimize your suspension setup!
Quick Reference Guide
Battery Life
Sensors last months per charge, and 8 hours in full usage. Charge via USB-C before long rides.
Data Sync
Syncs sessions manually after rides if you want share publicly. Requires internet connection for cloud backup.
Maintenance
Clean sensors after muddy rides. Check mounting security before each session.
Recalibration
Recalibrate after setup changes or if readings seem inconsistent.